Pre-K/K Week Two: Reality Ride Part One
Get Started
With the Lesson Plan PDF
Lesson Key Concepts:
- Understanding choices and consequences
- Improved decision making
- Understanding choices that are more helpful for ourselves and others around us
Overview:
The Reality Ride (The Helpful Track) unit will be split into two separate lessons. In this first lesson, you will begin with a brief introduction to the visual metaphor, followed by an activity, “The Helpful Track.” This activity is designed to give students an opportunity to explore a path or a track, evaluate the choices they are presented with, and identify helpful actions. We will also share a story example “Book: My Magical Choices” and a resilience booster “My Own Helpful Track.” Each of these lesson elements will help to establish the concept of tracks that can lead us to destinations where we want to be, and lay the groundwork for the next lesson concepts taught in part two.
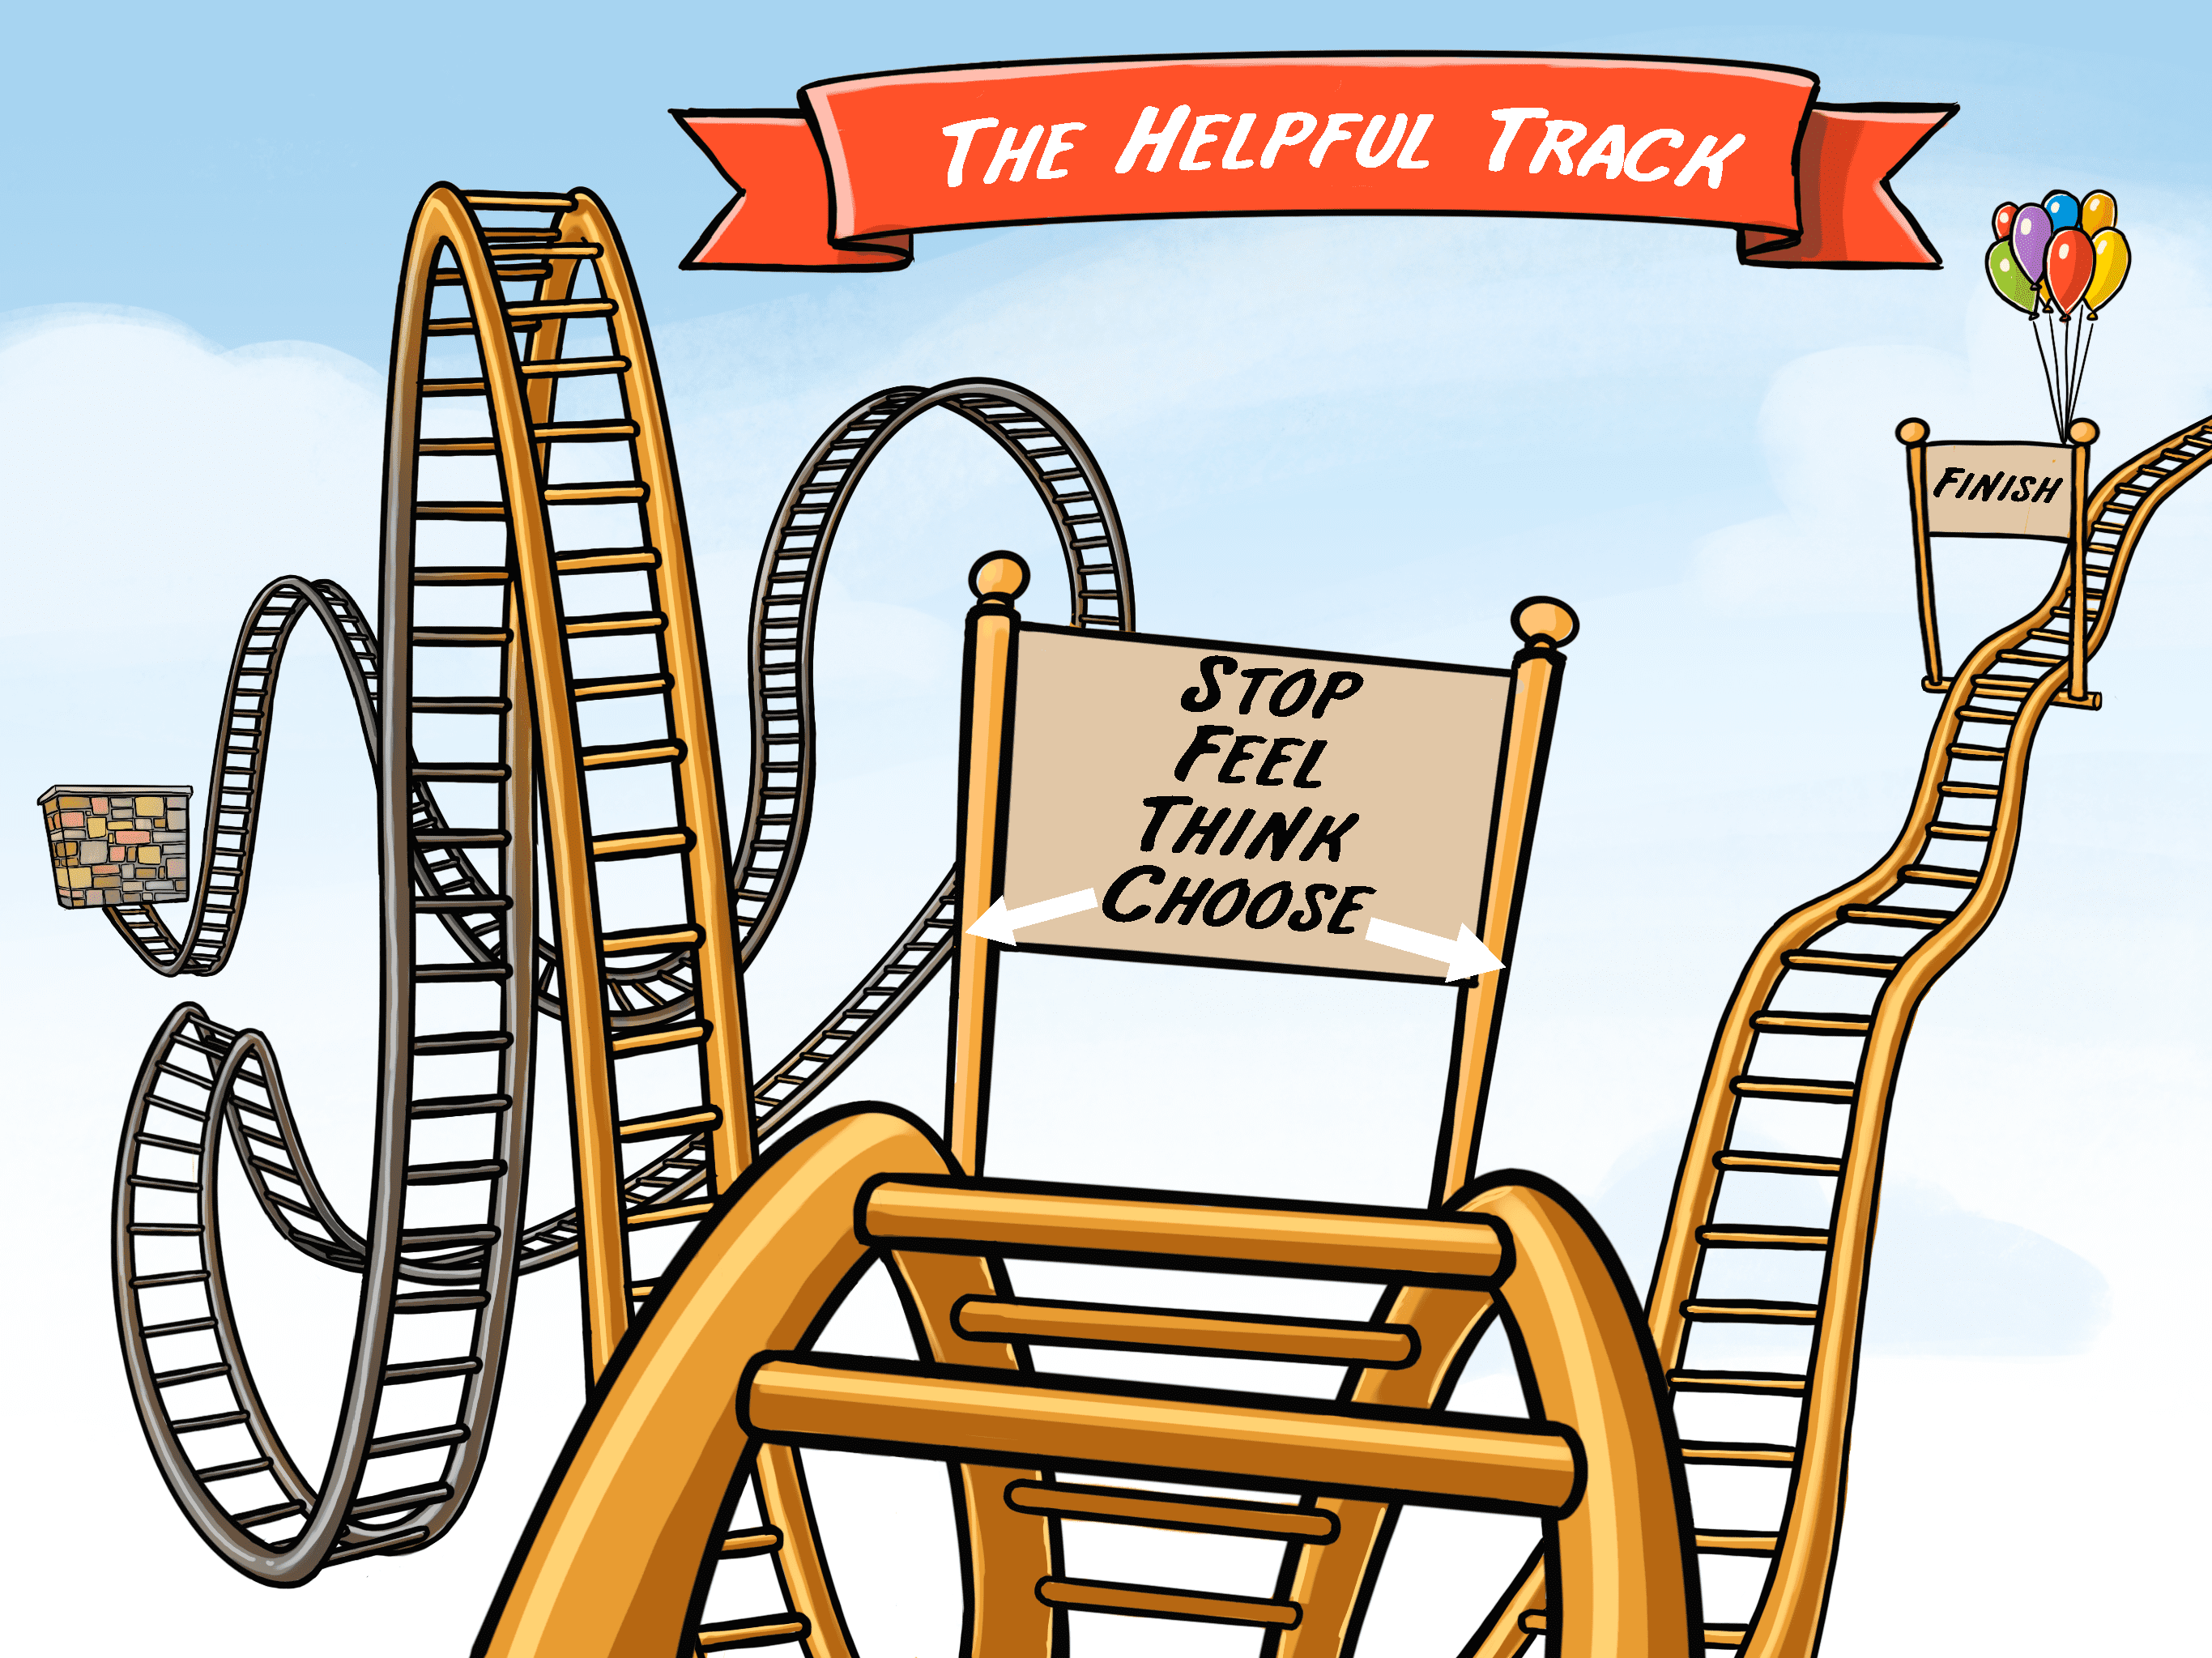
(Note: in the Pre-K & K lessons, we are not going to be processing the term “Reality” and instead will be focusing on the concept of making choices that are more helpful to ourselves and to others. So for the purposes of communication with our students, we will refer to the metaphor as “The Helpful Track”)
Lesson Elements:
- Introduction to the Visual Metaphor “The Helpful Track”
- Activity: “The Helpful Track”
- Story/Book: My Magical Choices
- Booster: Art activity – “My Own Track”
Vocabulary:
- Choices
- Track
- Destination
- Helpful
Learning Objectives:
- I can identify that some choices can be helpful for me and others.
- I can identify why sometimes a choice may look like something I want but can actually be not helpful for myself and others.
- I can stop, feel, think, and choose when faced with a choice
- I can identify when I am being helpful and when I am not being helpful.
Reality Ride (The Helpful Track) Metaphor Walkthrough Part One
Introduce the Reality Ride Metaphor
This will be a brief introduction to the visual metaphor. A more detailed walkthrough will be included in the next lesson (part 2)
Frame/Instruction:
Say to your students: “I have an important picture to show you. I’m going to hold it up so you can take a look at it, and then I’m going to ask you some questions about what you see.”
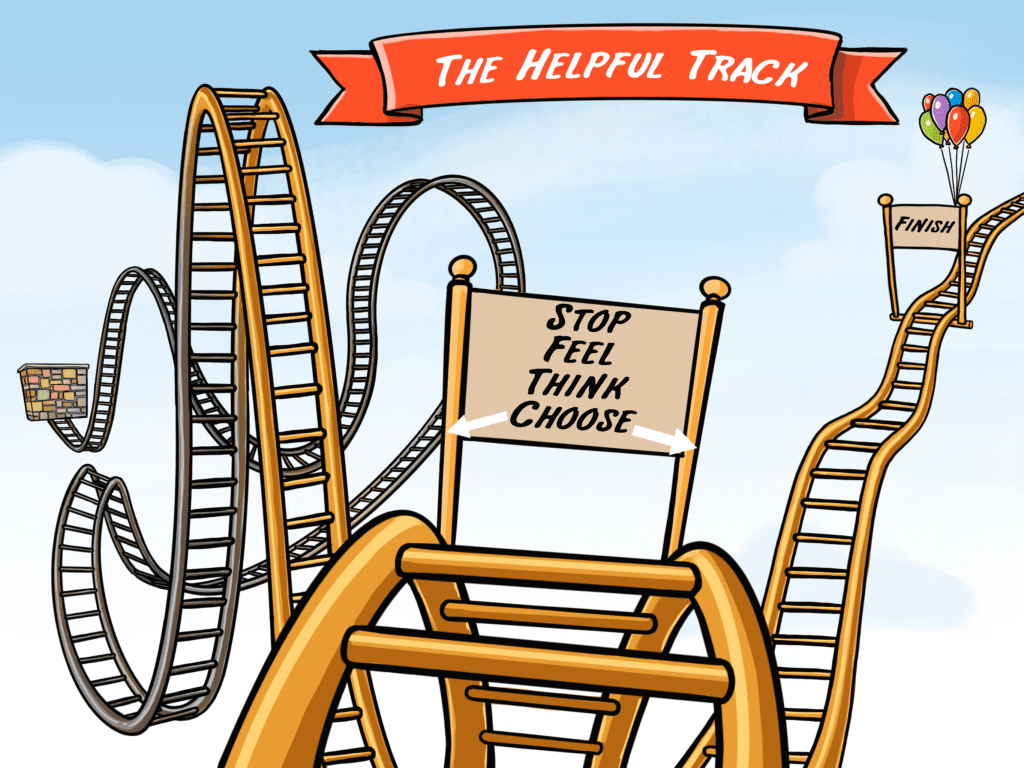
Show them the Reality Ride (The Helpful Track) picture, encourage them to look at the details of the image, and then Ask:
“Have you ever seen one of these before? Do you know what it is?”
If they guess right and say “rollercoaster” or “a ride that you go on,” congratulate them and ask:
“Have any of you ever seen a rollercoaster or amusement park ride before? What are some of the things you notice about this particular rollercoaster?”
Tell them that this rollercoaster is a special one called “The Helpful Track,” and it will help us learn some important things about making choices. For today, tell them that you just want them to notice the track.
Facilitating the Activity: “Follow the Track”
Overview:
The objective of this activity is to engage students with an activity that will introduce them to the concept of a track that can take us somewhere (like our metaphor of a rollercoaster.) You will help students connect with the elements of the visual metaphor by constructing and following a physical track. This will involve visual conceptualization and physical movement of a “beginning to end” process. Create a foundation and set the stage for making the connection to choices and consequences in Reality Ride (The Helpful Track) Part Two.
Materials:
- A classroom space (around the perimeter of the classroom would work, or if you could move things to make a space in the middle of the room would be ideal)
- Colorful masking tape
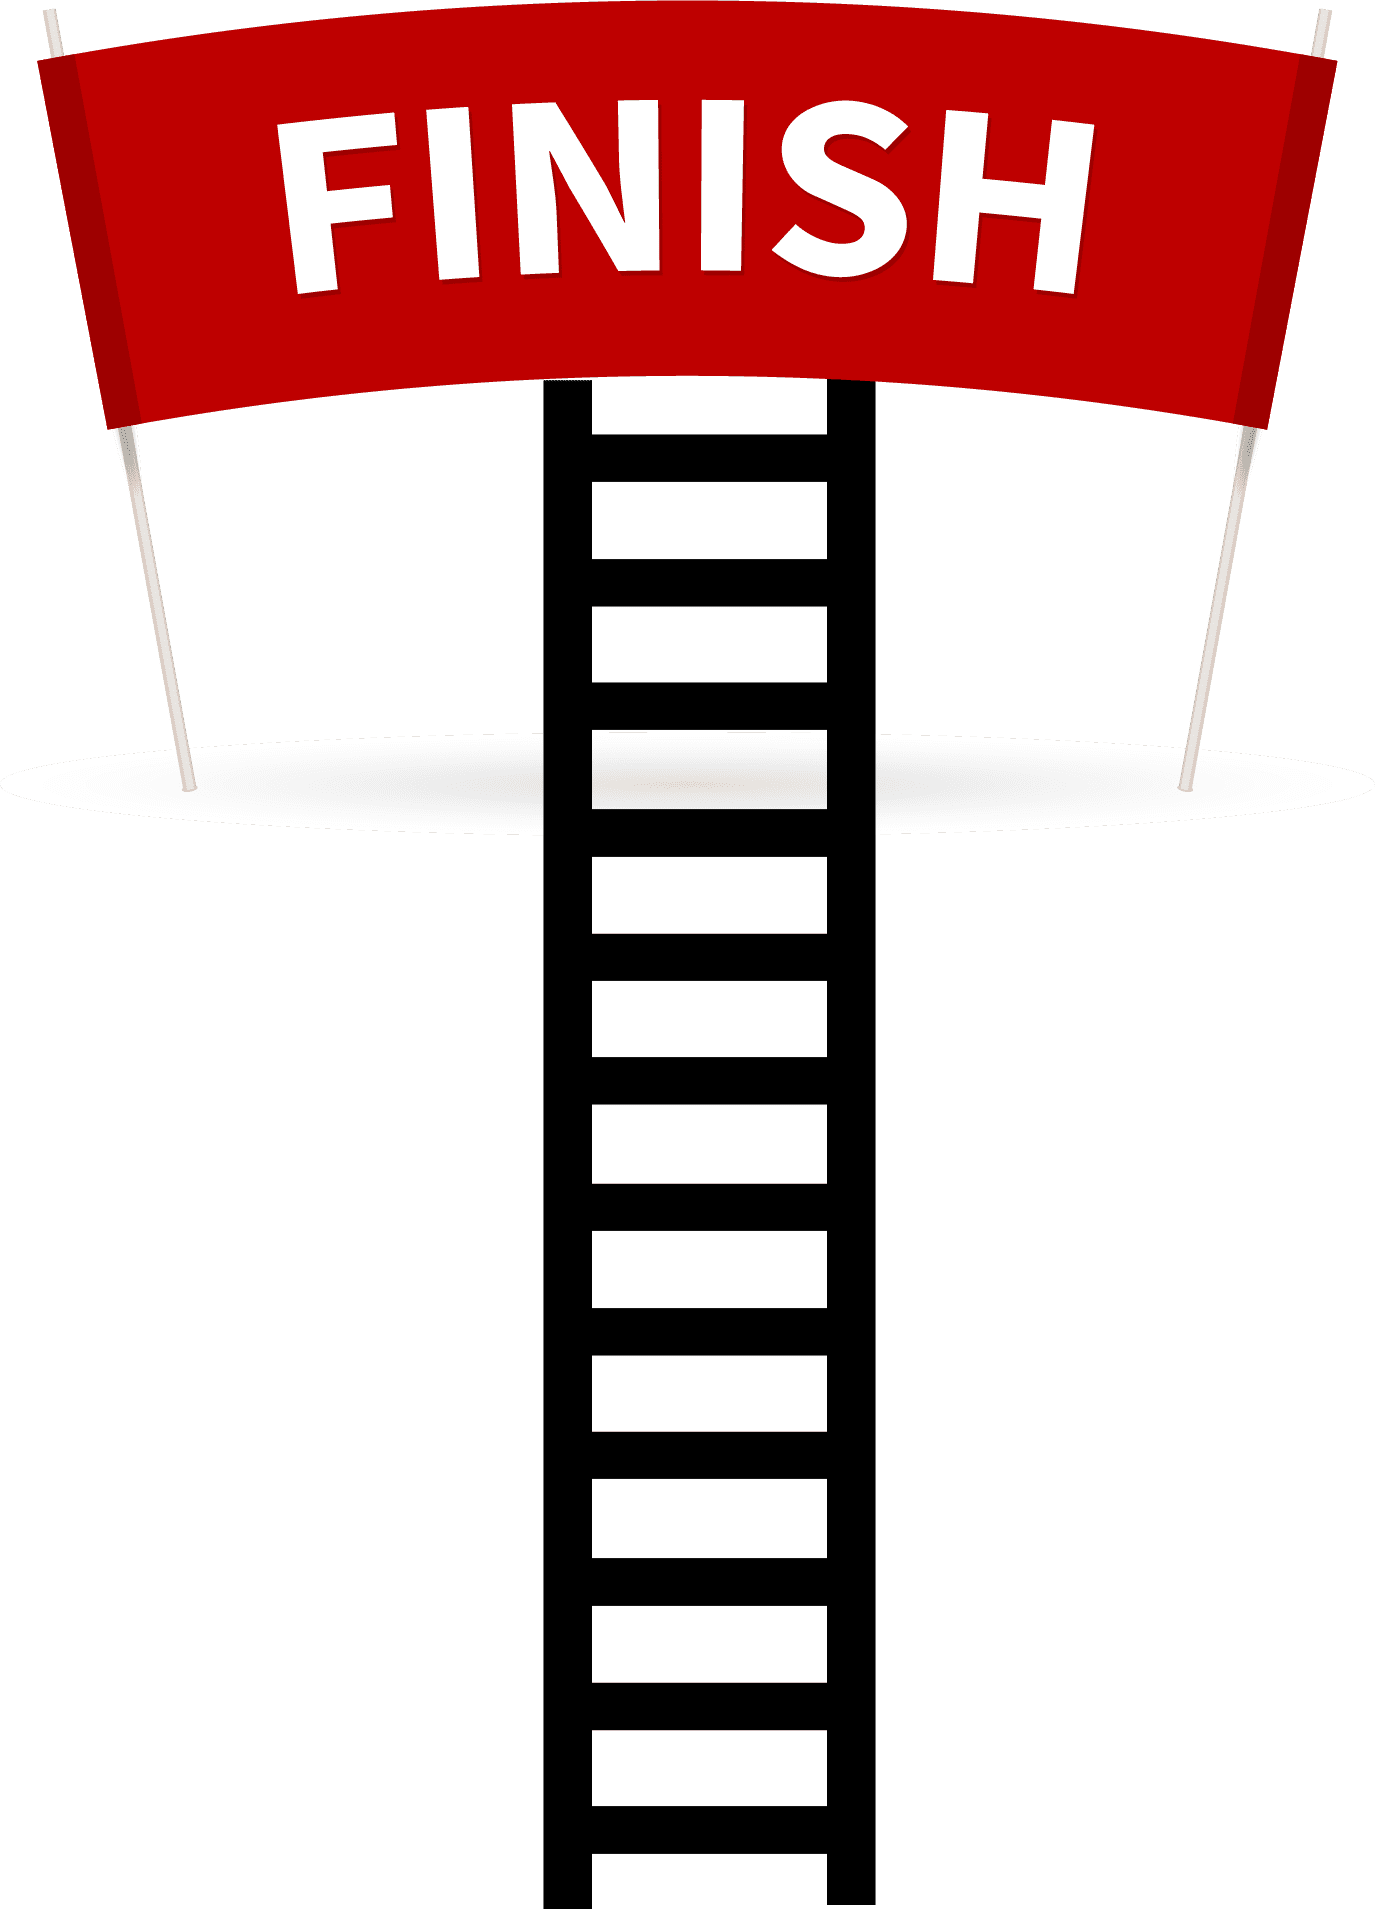
- Printed picture with the “start” and “finish” for each track
- Piece of string or paracord (optional)
- A small car or truck (i.e. HotWheels) for each student (optional)
Preparation:
Create 3-4 separate single-line tracks on the ground with tape, each different in design. (Straight, zigzag, wavy etc.) Tracks can be created in different areas of the classroom, or parallel to one another like lanes on a race track. Label the starting and ending points of each track to indicate their direction using the printables provided.
Instructions:
Introduction to the track:
Say: “We get to go on some rides today! These are special rides kind of like our rollercoaster picture. Each of these lines on the floor are tracks that have a start and a finish. Making a choice is like starting down a track that will lead us somewhere. You all get to make a choice and pick which track you want to go on first. When you decide, go stand (in line if necessary) next to the green sign at the beginning of the track.” Let the kids choose a tape track and move to the starting position. It’s a good idea to play music when they are moving and then turn it off when you are ready to give them the next instructions.
Next say: “Good job making a decision! When I say “go!” you will start walking on your track and see if you can follow it all the way to the finish. Be careful to keep your feet on the track and walk carefully to keep your balance. You might have to be especially careful when there are turns in the track! Make sure to take turns and wait for the person in front of you to take a few steps before you follow them. Ok? All right let’s GO!” ( turn music back on )
Issue challenges, encouraging them to keep their focus to keep their steps on the tape and make sure they are “staying on track” or “not getting derailed.” Celebrate them when they reach the end of their track, with a high five, fist bump, or clapping for them. Encourage them to celebrate their peers in the same manner.
After they finish, have them choose another track and repeat the activity until every student has had the opportunity to follow each track.
Optional Ideas/Variations:
Option 1: You could line them up as if they’re on a rollercoaster, and ride the tracks together in a train by holding on to a piece of string, rope or paracord. It’s helpful to tie knots every couple of feet so they know where to hold on and keep spaced far enough apart.
Option 2: Give each student a small car or truck (i.e. HotWheels) and have them drive their cars down each track being careful to stay on the track.
Build a track with their help:
Now that your students have experienced following the tracks that you have built, say to your students: “You did such a great job with that! Now we get to work together to create a new track that has a special destination. We are going to start here (Establish a starting point like the doorway to your room or a far corner) and create a path on the floor with tape that leads to a finish place over here on the circle time rug.” (If you have a place where you sit down on the floor with your students for “circle time” or “story time” on a rug, that would be a good end destination for your track.) The goal will be to have your students travel that track to a place where you can sit with them and process the experience.
As you build the track, you may want to give your students some challenges/suggestions by saying: Let’s see how cool we can make this track. How do you think we should build it? Do you think we should make it in the ‘most fun’ way or the ‘fastest way’?” Let your students give some ideas. The path could wind around obstacles like tables, desks, or chairs, eventually finishing at your destination. If you have different colors of masking tape it could add to the fun to let them pick colors and make the track their unique creation.
Once the track is complete, have your students follow along the track either one by one or as a train together. Make sure to encourage them through any tricky turns or parts where it is harder to stay balanced on the line, and be sure to celebrate with them as they reach the destination. It’s a good idea to play music from our suggested songs while they are moving along the track.
Processing Questions:
- Which track was your favorite?
- Did any of you have a favorite part of that track? What was it?
- Can you describe the different tracks to me or tell me about the different tracks?
Introduce the connection to choices by saying:
“Getting on a track can be like making a choice. Choices can help us to get places. Some choices can be more helpful for us and helpful for others. You all did some things along that track that were helpful for everyone to make it to one of my favorite places! This is our special place where get to share stories and talk about important things together during WhyTry time.”
- What were some things that you did that were helpful to make it to the finish together?
- What was hard about staying on track?
- Did you have to make any choices to stay on the track?
- What are some other choices that we have to make every day?
Say:
“For the next couple of weeks, we will learn about tracks and how staying on track is like making helpful choices and getting us to places that we want to be.”
Story Example
(Note: This is an example story that can be used to help introduce the importance of making decisions. You may choose to use another story from our list or a story of your own as part of the lesson.)
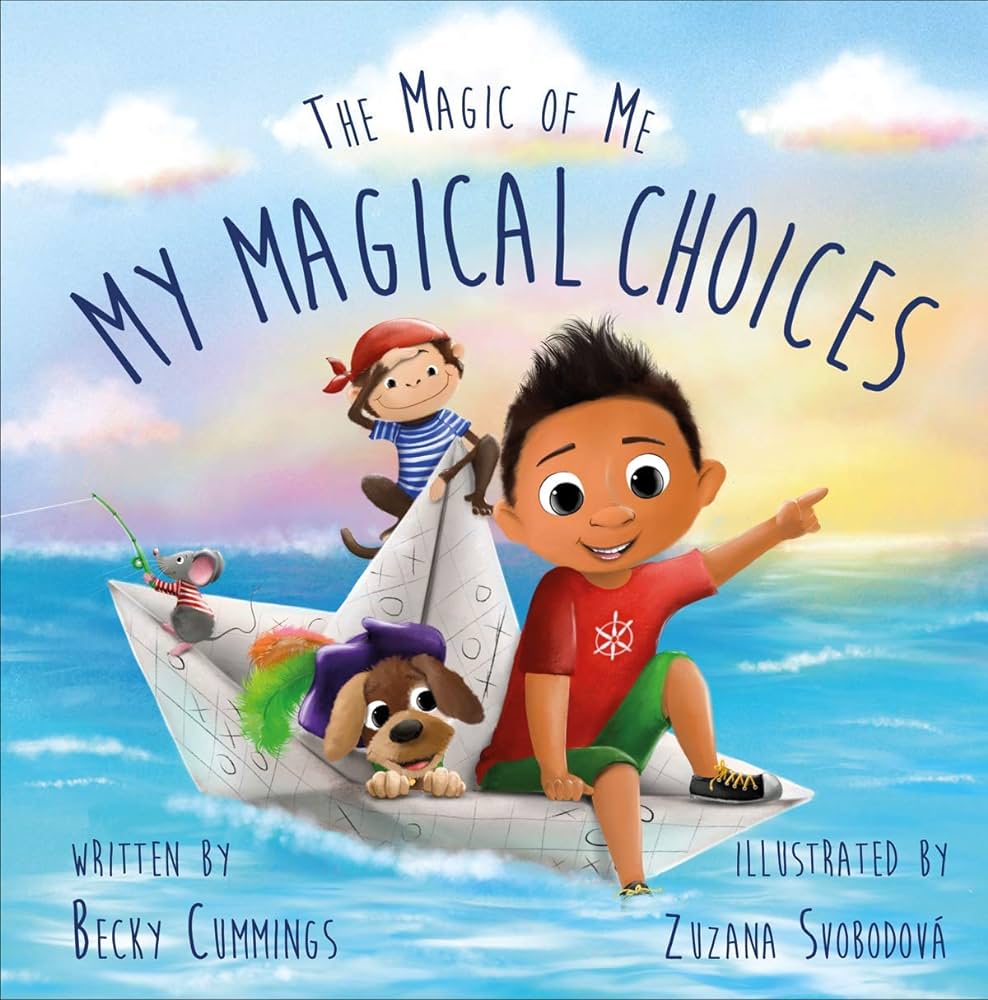
Book – My Magical Choices
This is a great story introducing the importance of making choices that can be helpful.
Introduce the book by saying: “I want to share a story with you about different kinds of choices we make. See if you can spot some of the different choices it talks about in the book and pick one that you like or is your favorite!”
Processing:
You might want to pause on one or two pages and process with your students how a choice on that page could be helpful for someone.
Resilience Booster: Art Project – “My Own Helpful Track”
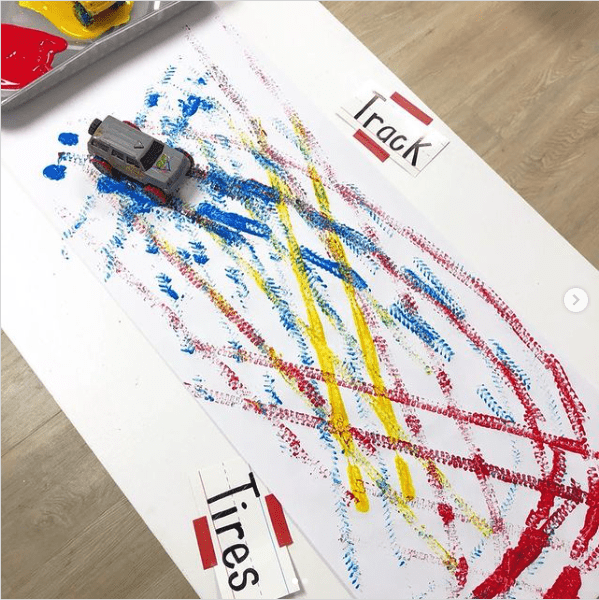
Have your students create their own track on a piece of paper. They can draw them with crayons, finger paints, or make tracks with a toy truck (you can often find small toy monster trucks at the dollar store that can be used for lots of fun classroom projects.) and some paint. Have your students roll the tires in some paint and then roll them on their paper to make a track.
Encourage them to start somewhere and make a track that leads to someplace special or “magical.” You can have them draw a picture at the end of the track that shows where it finishes or includes a picture of their special destination.
Processing:
Let them share their picture with everyone and share a choice they can make that could be helpful.
Put their pictures together on the “WhyTry Time Wall” for the next week so that you can remind them of the concepts we focused on in this lesson about how tracks are like choices that can help us get to places we want to be.